PowerShell* Instruction
| Note | We recommend using Microsoft Teaming on operating systems 2012 and higher. |
Creating the Network Team using PowerShell
See the Microsoft TechNet article that details NIC Teaming (NetLBFO) Cmdlets in Windows PowerShell*.
- Open an elevated PowerShell prompt. In the Windows® 10 taskbar search, type PowerShell. Press the W and S keys to open Search.
- You should now see the result Windows PowerShell at the top. Right-click Windows PowerShell and select Run as Administrator.
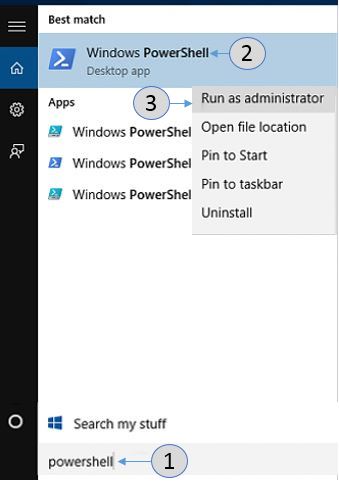
- If you are presented with the User Account Control prompt, click Yes.
- Enter the command new-NetLBFOTeam [TEAMNAME] “[NIC1]”, “[NIC2]” and press the Enter Key.
[TEAMNAME] – the name you want to give to the team of network adapters
[NIC1] – the name of the first network adapter found from above
[NIC2] – the name of the second network adapter found from above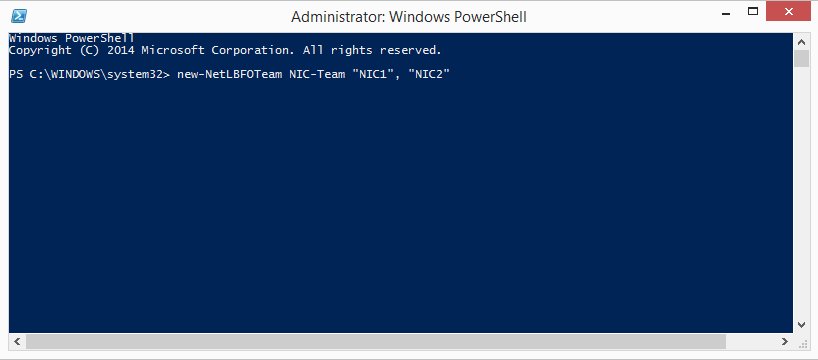
- Open the Network Connections by going to Control Panel > Network and Internet > Network Connections.
